cakes · Mum

A Passion For Cake Decorating

It would come as no surprise to anyone who knows me, or who has read these blog entries, when I reiterate my love of cooking. Spending time in my kitchen relieves any stress I may feel (almost as surely as when I’m gardening!)

Oftentimes, such traits are passed on from generation to generation as was the case with me.

My mother could whip up a meal for the unexpected multitudes, in no time flat, even from a seemingly bare fridge and pantry. She just simply had the “knack” to make anything happen…as her daughter, I’m convinced she possessed magic powers!

She was fascinated by the art of cake decorating. Although she had never had any formal training, Mum bought books on the subject, (as I recall, books on cake decorating were actually the only books she ever did buy!) in an effort to learn all she could about her passion.

Going through some old photo albums, I have discovered photos of a few of the cakes Mum decorated over the years. She particularly enjoyed icing and decorating wedding cakes and I recall her planning the designs she would be working on for days in advance, often travelling long distances to purchase her required supplies for the upcoming task.

These two wedding cakes, both from the 1960’s, were among her first attempts at decorating.

Although simple in design, her ideas were very effective and produced beautiful results.

This photo shows not only a wedding cake made by Mum, but also a doily she crocheted, on the table under the cake.

Mum was never idle and was very artistic and talented, although she claimed herself to be “a jack of all trades and master of none”.

I, for one, remain as proud as ever of my amazing, imaginative mother. She and I were like chalk and cheese in our personalities. Perhaps that’s why we had such a close mother daughter relationship….we admired each other’s unique talents and accepted the striking differences between each other in our personalities.

She taught me so much. What a wonderful woman my Mum was….

birthdays · cakes · cooking · daughter · Mum · recipe

Coffee Sponge Cake

For my birthday last month, my youngest daughter made a beautiful coffee sponge cake.

I love it that she has always enjoyed cooking with me. Even as a toddler she would climb up on a little stool to see what I was making and would “help” by stirring the contents of the bowl occasionally.

As she has grown, (she is now 17 years old), she has made her own choices of new recipes to try out, adding interest to sweet treats the family enjoys.

When my Mum was here, she had a theory; it was a very rare person who could make both a light sponge and a good batch on scones. She was the sponge maker in our household of years gone by; I was the scone maker, so it worked out well for us.

Now, we have discovered that my daughter is an excellent sponge maker! She has whipped up a sponge many times, with such great ease that I envy her talent, as I did my own mother’s.

Well, today being my mother’s birthday, I decided it would be a very appropriate day to share my daughter’s recent sponge treat, made for my special day.

Happy birthday, Mum….

Coffee Sponge Cake

4 eggs, separated (at room temperature)

Pinch of salt

1 cup of caster sugar

1 tablespoon coffee essence

1 cup of plain flour

4 teaspoons of arrowroot

1 teaspoon of baking powder

4 tablespoons of milk

1 teaspoon of butter

Preheat the oven to 180 degrees C and grease and baking paper line two 20cm round cake tins.

With an electric mixer, beat the egg whites and salt until soft peaks form, then gradually add the caster sugar, beating continually.

Add the egg yolks and continue beating the mixture until it is light and creamy. Add the coffee essence and combine into the mixture.

In a separate bowl, sift together the flour, baking powder and arrowroot. Repeat the sifting process three times. (My daughter assures me that the triple sifting is what gives the sponge its “lightness”).

In a small saucepan, heat together the milk and butter. Carefully fold the butter and milk into the sponge mix.

Pour half the mixture into each of the prepared sponge tins and bake for 20 minutes.

Decorate as desired.

cooking · soup · winter

Welcome Winter The Minestrone Way

I can’t think of any better way to welcome the winter. A steaming hot bowl of minestrone soup on a cold winter’s night really hits the spot!

There are numerous versions of minestrone soup around and there seems to be no hard and fast rules on the exact ingredients to be used. That is the beauty of this dish; you can use whatever you have in the fridge.

Typically, minestrone should at least contain pasta and beans. The rest can be improvised.

This particular recipe is the one that I have settled upon, after a number of experiments of my own. I have used both chicken and beef stock, however the beef stock produces a heartier flavour.

Adding meat is not necessarily typical of minestrone, but what can I say…the meat loving men in my family can’t seem to last one night time meal without the addition of meat!

One of my favourite aspects of this soup is the use of my fresh, home-grown tomatoes, parsley, basil and oregano. 🙂

Minestrone Soup

1 tablespoon olive oil

2 brown onions, chopped

4 cloves of garlic, crushed

2 carrots, diced

1 potato, diced

250 g zucchini, diced

¼ cup chopped fresh basil

1 tablespoon chopped oregano

2 large bay leaves

750 g diced tomatoes

5-6 cups good quality beef stock

125 g green beans, cut into 2cm pieces

125 g pasta, such as penne

2 cups of cooked and drained borlotti beans

300 g diced bacon or ham

Grated parmesan cheese and parsley to garnish

In a large stockpot, heat the olive oil and add the onion and garlic. Cook until the onion is soft, about 5 minutes.

Add the carrots, potato, zucchinis, basil, oregano and bay leaves. Cook for a further 5 minutes.

Add the stock, bacon pieces, green beans, borlotti beans and tomatoes and continue cooking for approximately 20-30 minutes, or until all ingredients are cooked.

Remove the bay leaves. Ladle into soup bowls and top with grated parmesan and parsley.

cooking · pumpkin · recipe

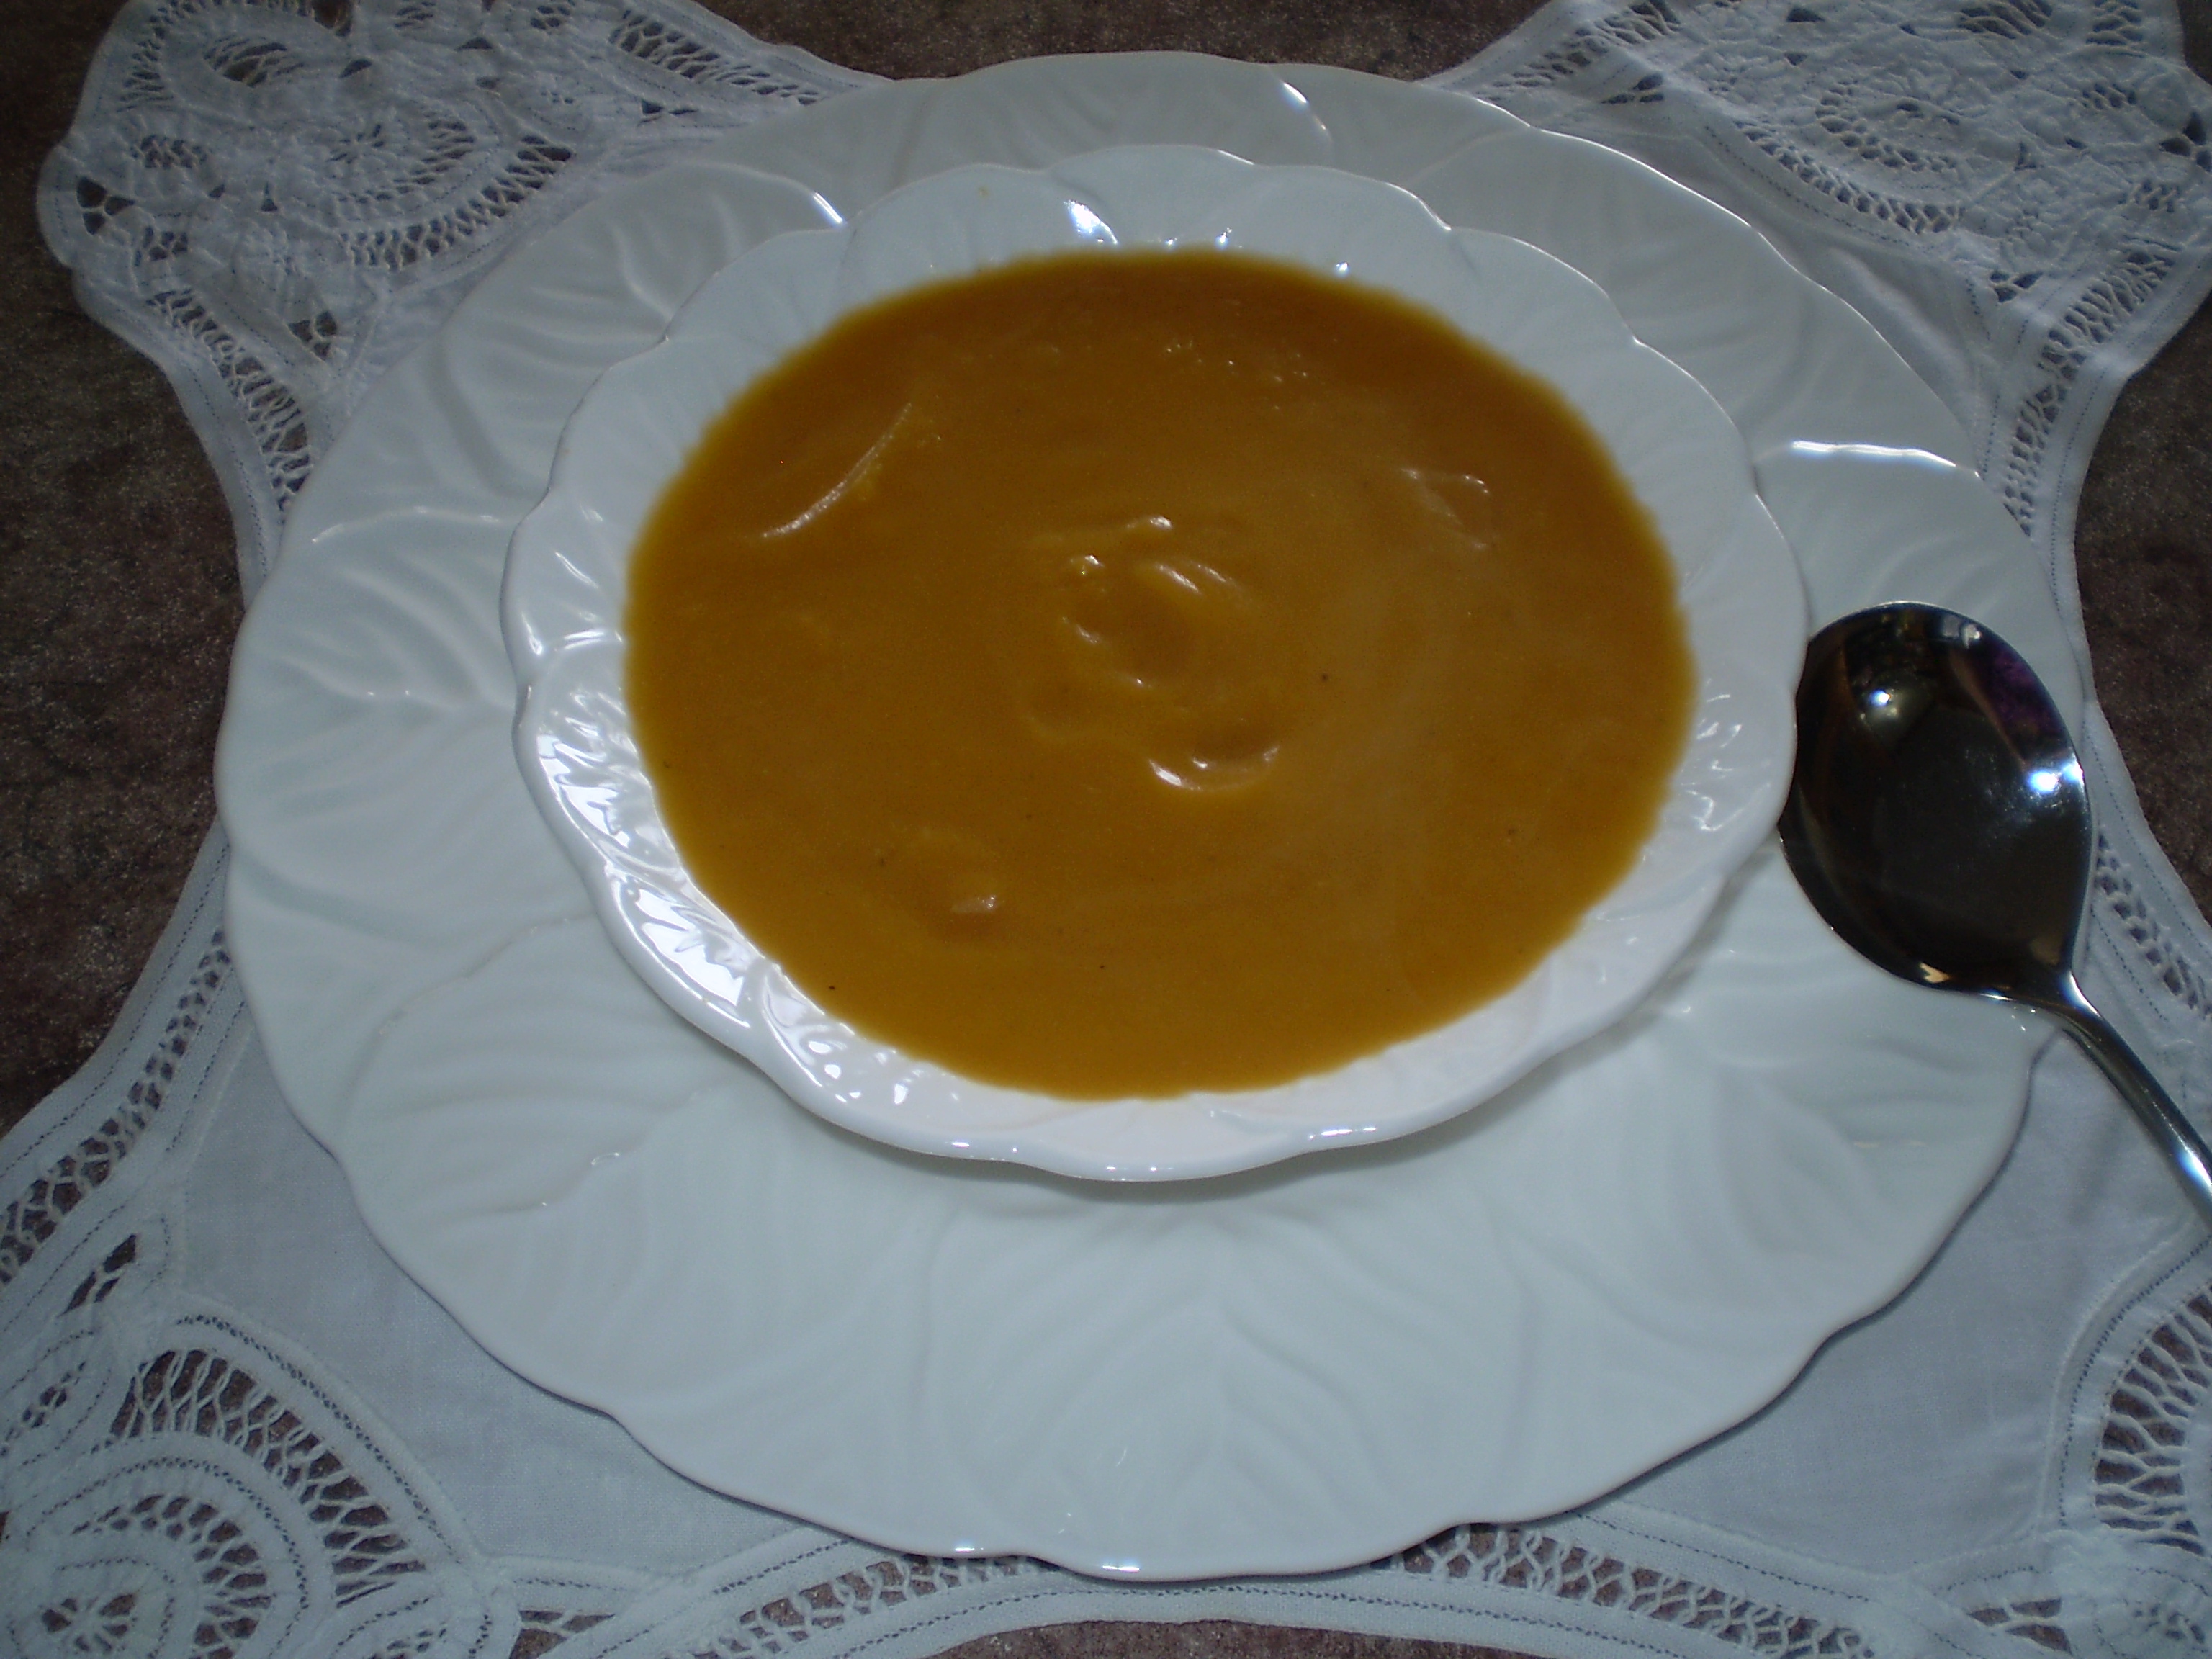
Never Say Never…To Pumpkin Soup!

I’ve never met a child yet, or adult for that matter, who enjoys every single food item offered to them. Children in particular will favour certain foods over others and simply refuse to eat some things.

As a child, I absolutely refused to eat two vegetables; brussell sprouts….and pumpkin. They were two food items on my list of I-will-never-ever-eat-those!

That isn’t to say that I don’t admire the growing process of pumpkins. There is no more a homely site than seeing a pumpkin vine growing, twisting its leaves, branches and tendrils up and over a backyard garden shed, leaving a newly growing pumpkin or two firmly atop the roof!

Therefore, knowing my lifelong dislike of pumpkins from a first-hand point of view, you can imagine my surprise when my own sister suggested we make up a pan of pumpkin soup for our dinner one night, whilst on an overnight visit to my home!

In my efforts to show myself to be an agreeable hostess (but totally against my better judgement) I agreed on a trip to the supermarket to purchase the required ingredients. There were obviously no stray pumpkins lying around in my kitchen, waiting to be transformed into a pot of soup!

My sister and I worked together, preparing what she assured me I was going to enjoy…..I made no promises to that effect!

By the time my sister began ladling the blended concoction into bowls, I must admit that the smell of this soup wasn’t as bad as I had imagined.

Maybe just a little, tiny, weenie taste….

To cut a long story short, I have enjoyed pumpkin soup from that day to this! I have even ventured as far as baking pumpkin in the oven, along with other vegetables, on nights we have a roast for dinner.

The moral of the story? Never say never…especially to pumpkin soup! 🙂

Pumpkin Soup

3 teaspoons butter

1 brown onion, chopped

1 clove of garlic, crushed

1 stalk of celery, chopped

1 whole butternut pumpkin, peeled and cubed

4 cups of chicken stock

2 teaspoons of finely chopped marjoram

1 bay leaf

Pepper to taste

1 cup of buttermilk or milk

Parsley to garnish

Melt the butter in a large saucepan over medium heat and add the garlic, onions and celery. Cook about 5 minutes, until the onion is soft.

Add the pumpkin, stock, marjoram, bay leaf and pepper. Raise the heat slightly and bring to the boil. Cover the pan and simmer gently for approximately 20 minutes, or until the pumpkin is soft. Remove the bay leaf.

Allow the soup to cool for a few minutes and puree the soup, either in a food processor or with a hand held blender. Return the soup to the pan.

Add the buttermilk and stir through the soup until blended. Heat gently, without boiling. Ladle soup into serving bowls and garnish with parsley.

**Tip** If you wish to freeze the soup for later use, do so before the buttermilk is added. When thawed, heat the soup, add the buttermilk and gently reheat again.

cooking · recipe

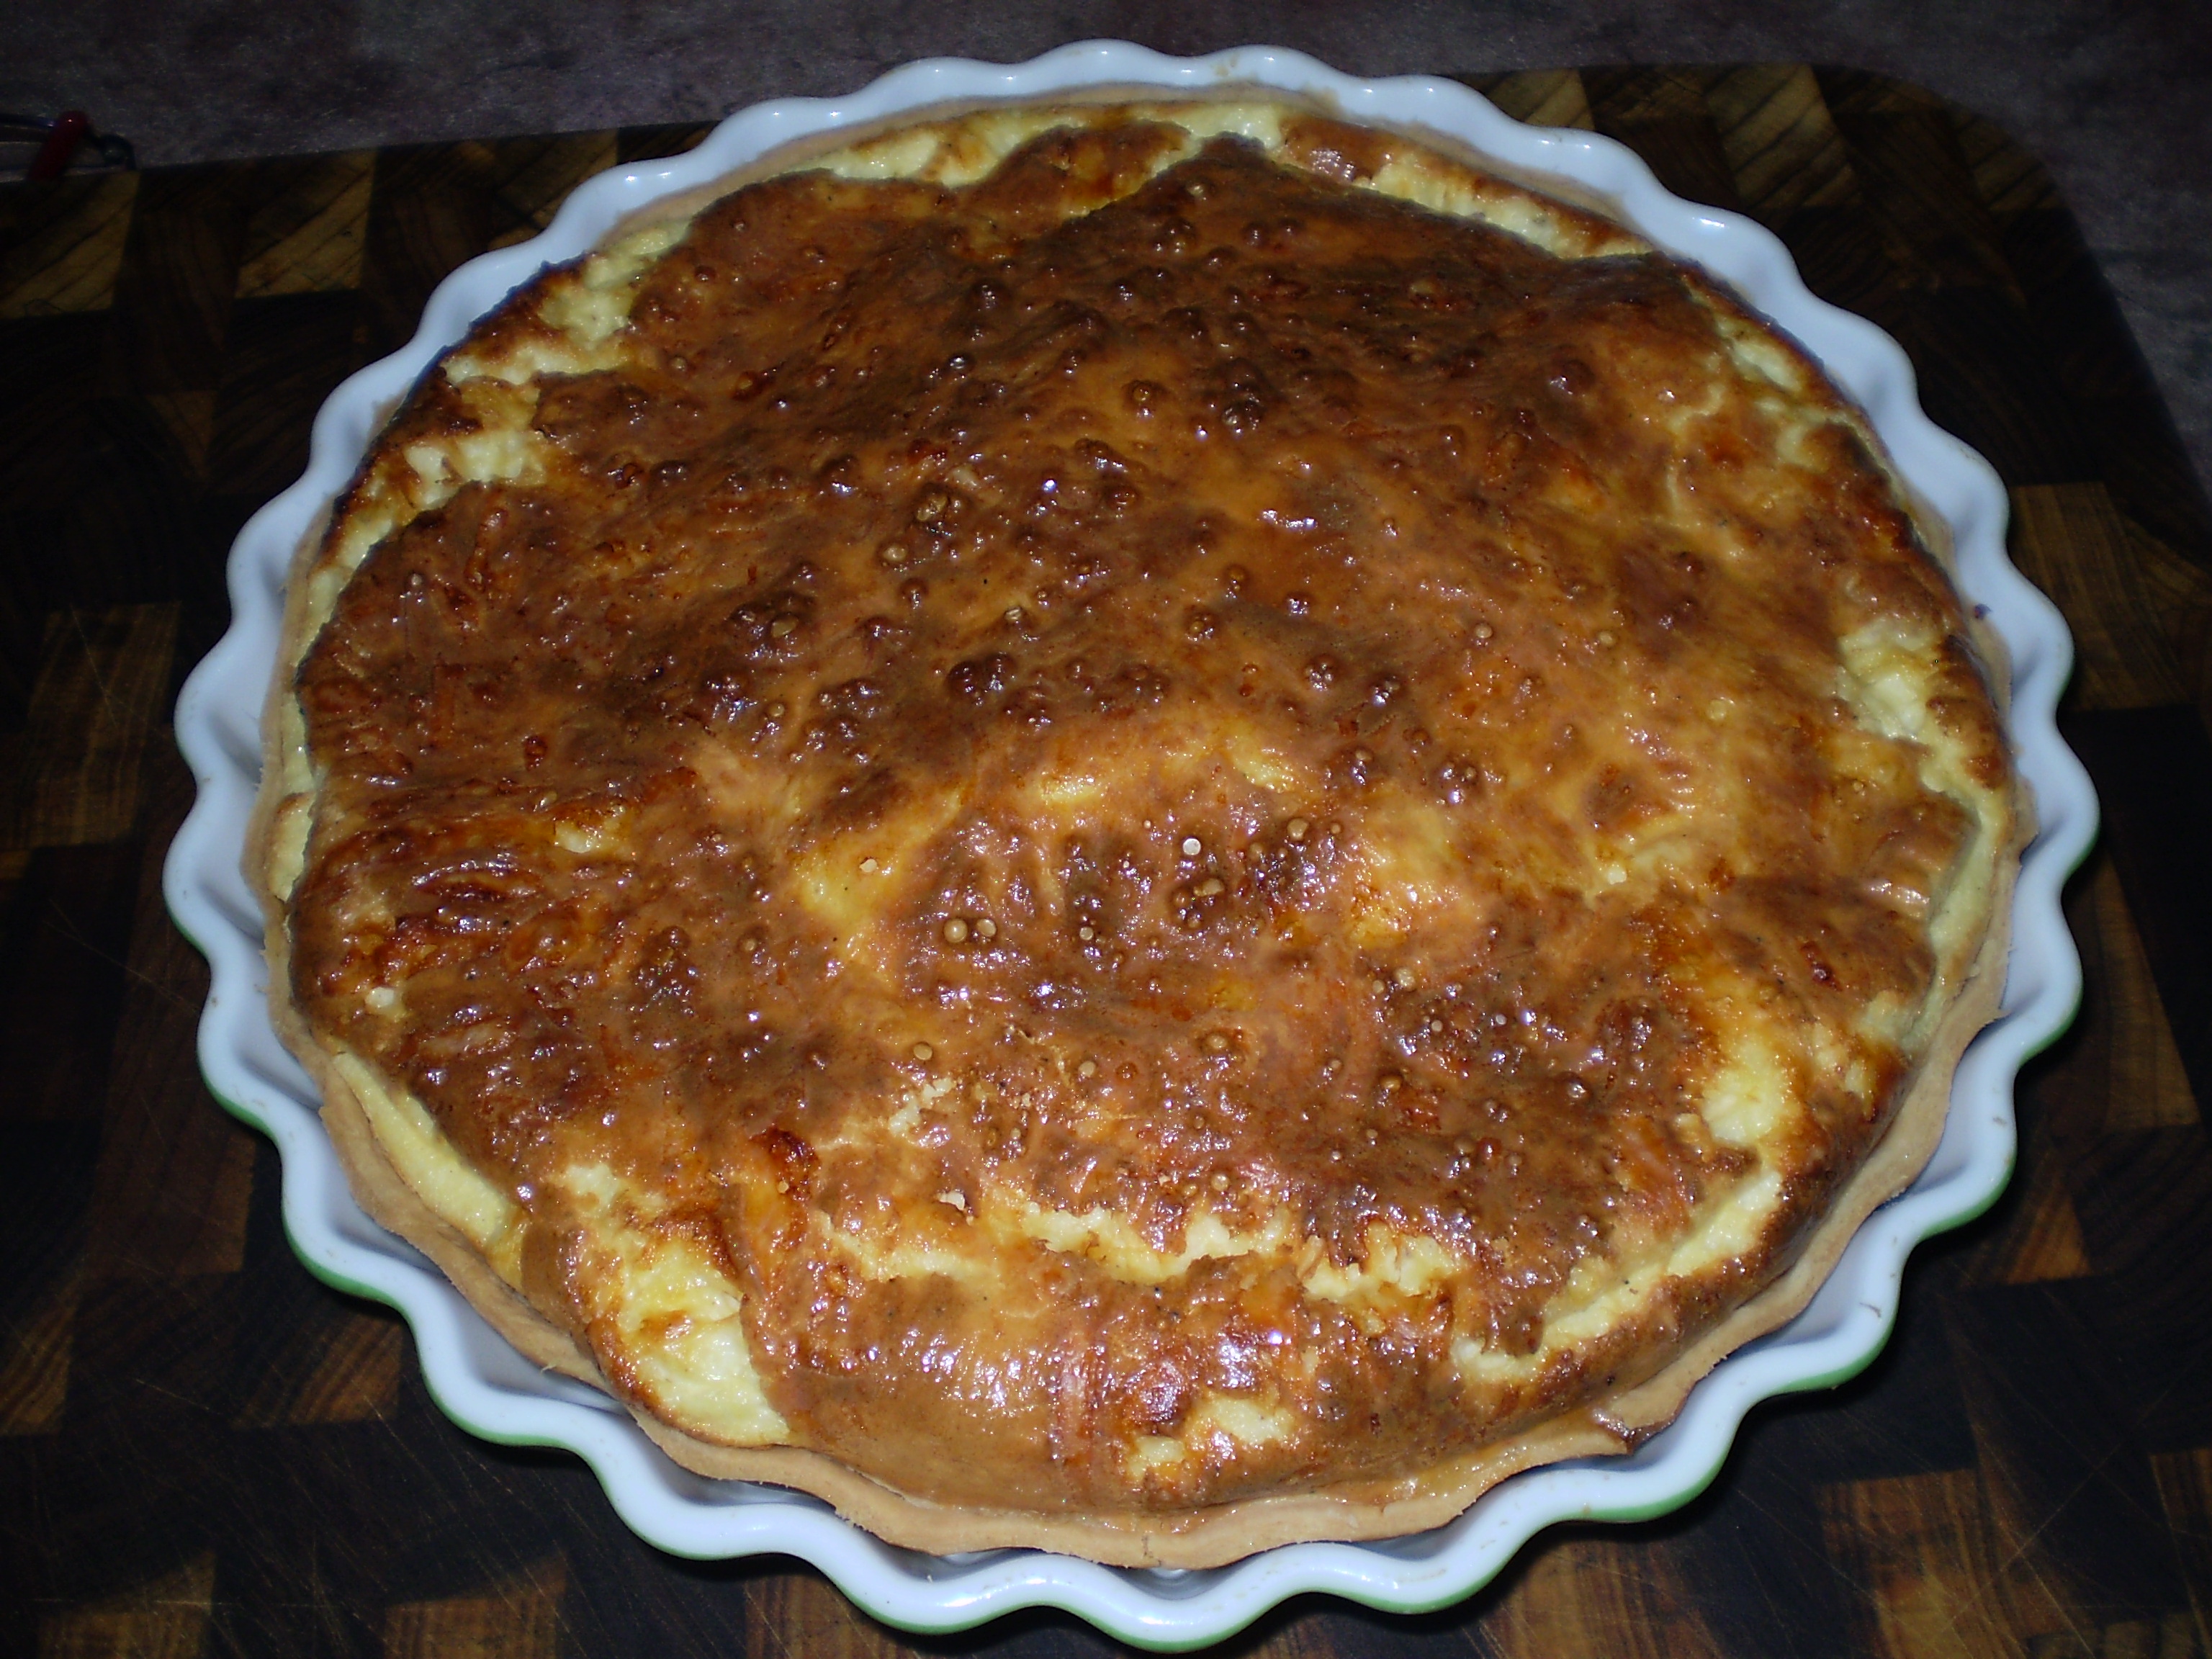
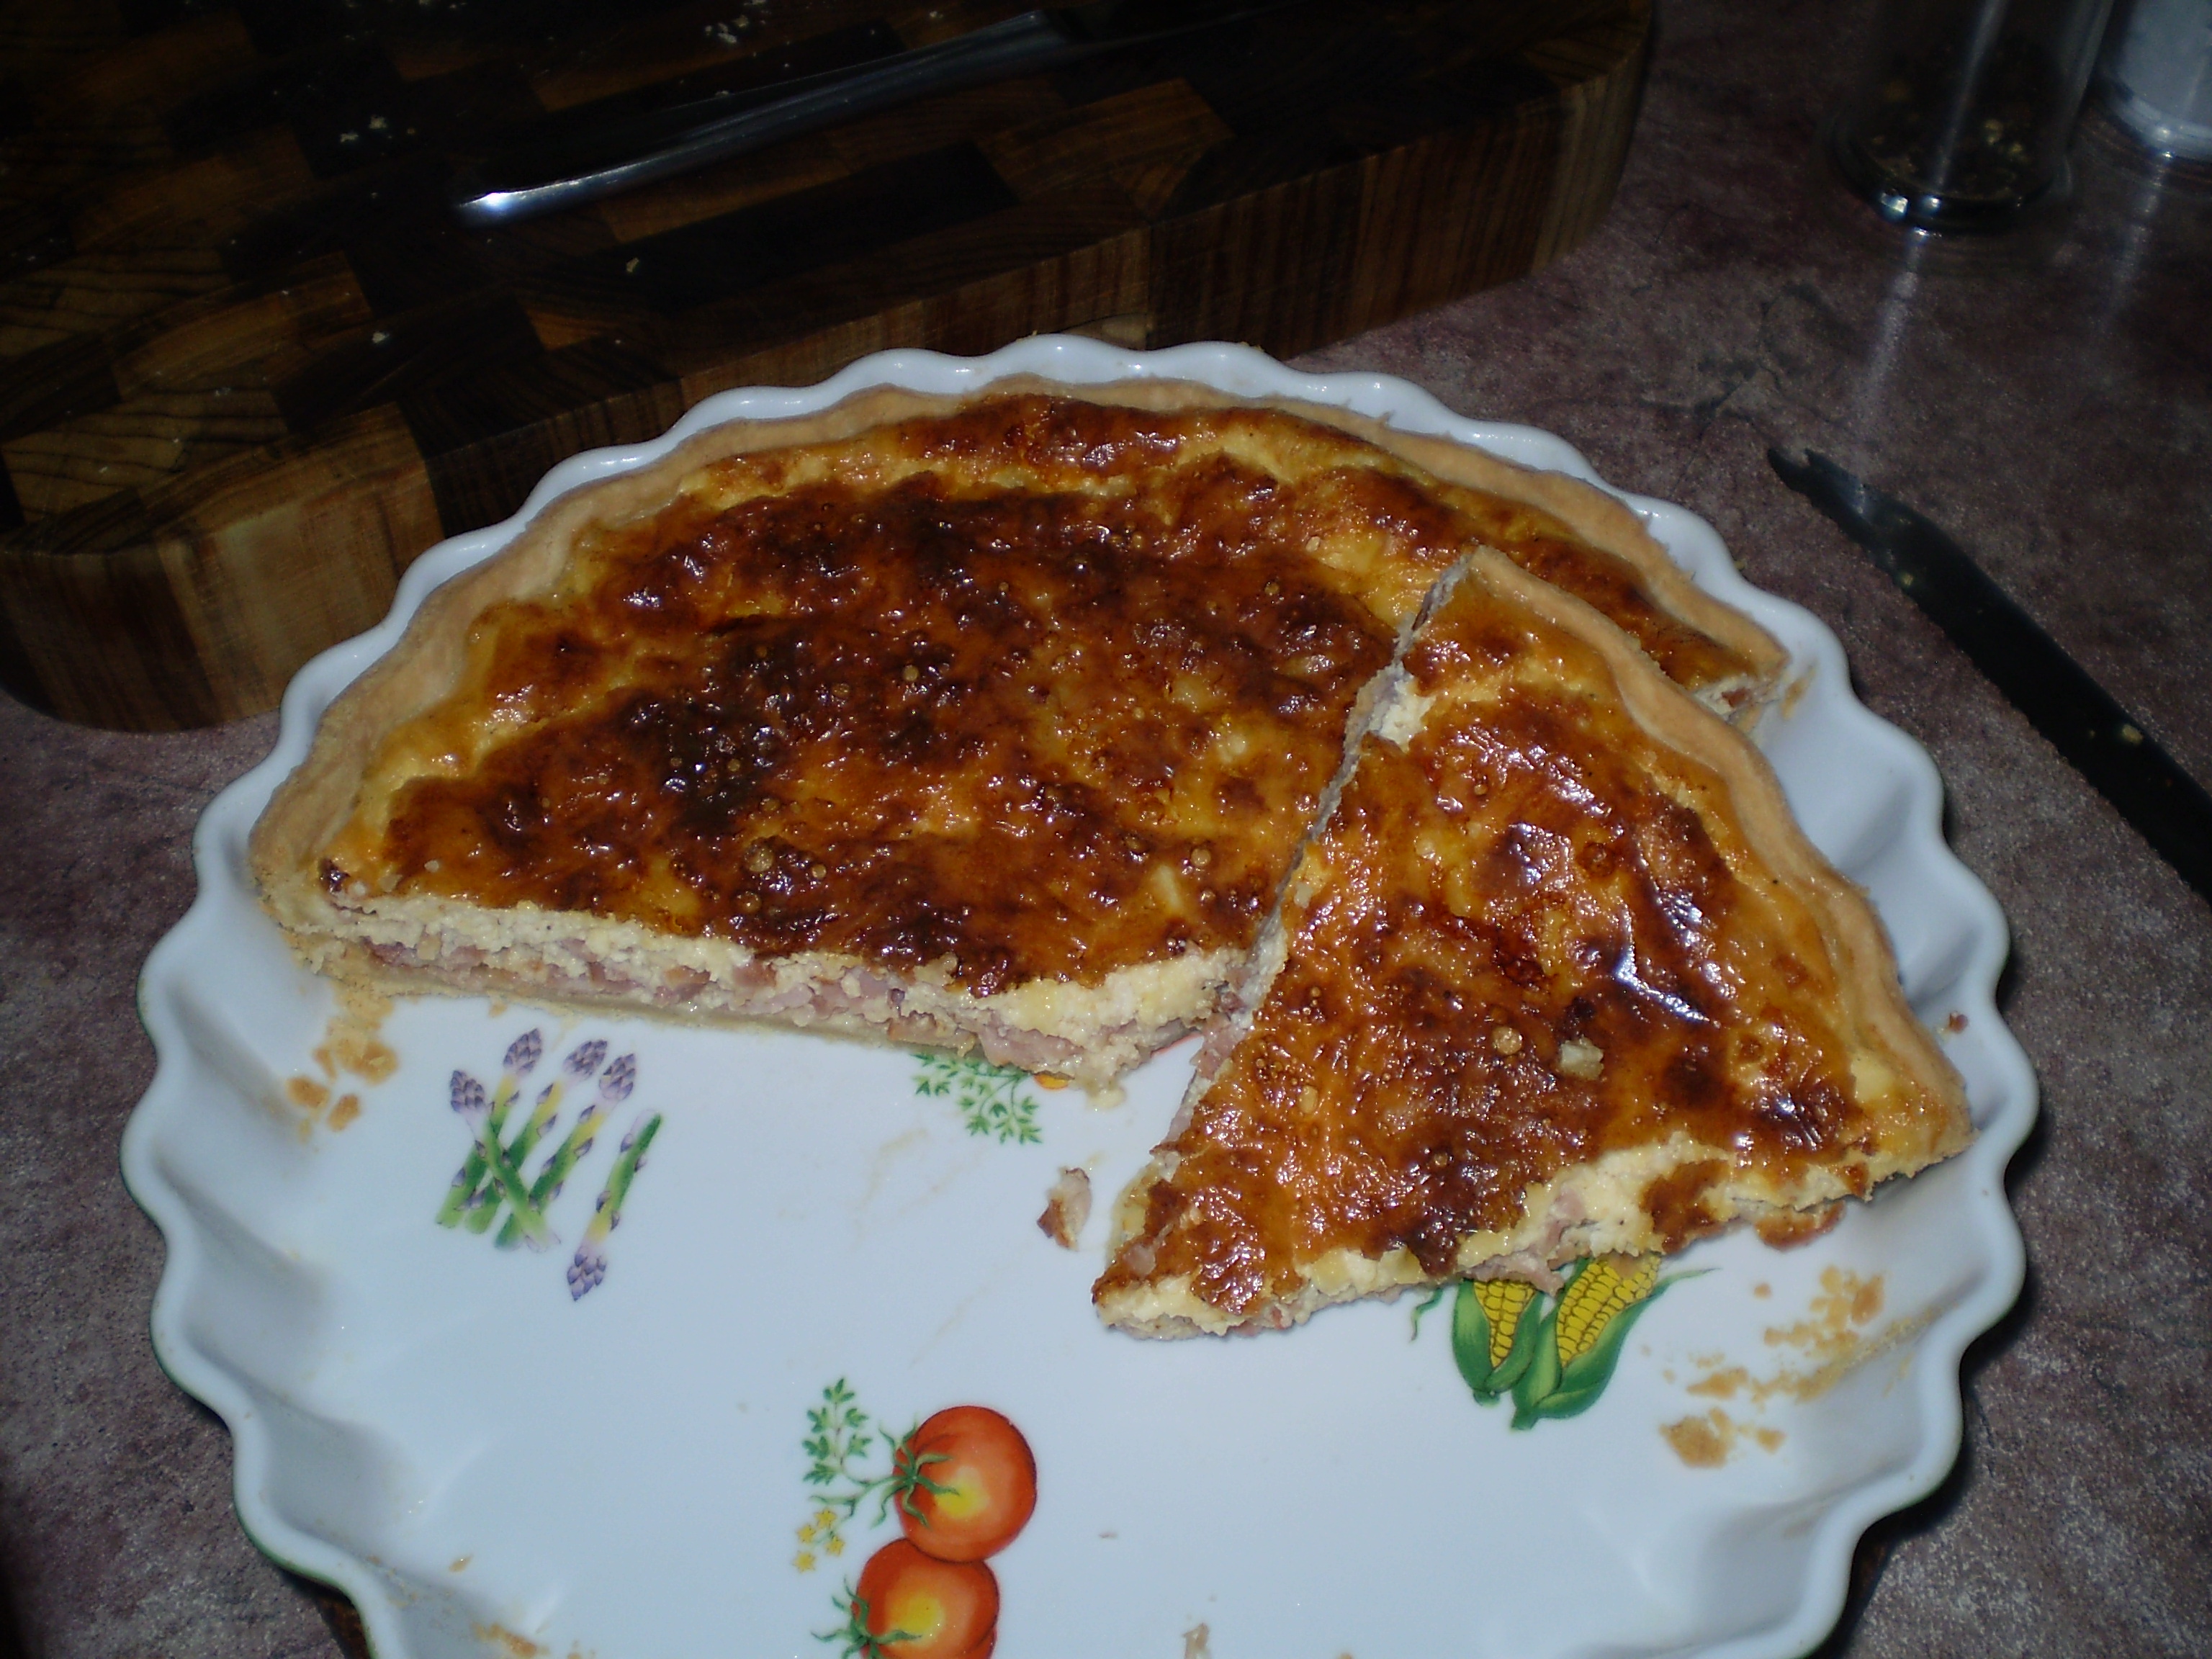
Fashionably Unfashionable Quiche Lorraine

There are certain meals that I like to prepare for my family, which I never tire of preparing, or eating for that matter. Quiche Lorraine is one of those meals.

Yes, I know, quiche is out of fashion, having its height of popularity during the 1970’s and early 1980’s, but what can I say? I’m just an old fashioned person! I also favour wood grained furniture and flannelette pyjamas, but are they fashionable…..? No, I don’t think so.

Whilst watching the cooking channel on television recently, chef and restauranteur Rick Stein made the comment that following fashions in food is silly really. If you were to eat only the fashionable foods look how much great food you would be missing out on!

I agree wholeheartedly with Rick Stein, especially so where quiche is concerned.

My recipe is so easy to make (and yes, I have been making this very same quiche since the late 70’s!) The pastry is smooth and easy to work with and there is no need to “blind bake” the pastry case before adding the filling.

Quiche is so versatile. It is a wonderful choice for Sunday brunch, a perfect accompaniment for a picnic lunch and is equally satisfying served as part of your main dinner at the end of the day.

Enjoy your quiche….and enjoy being fashionably unfashionable, just like me! 🙂

Quiche Lorraine

Preheat oven to 190 degrees C.

Pastry ~

1 ½ cups plain flour

Pinch of salt

1 egg

60g butter

3 tablespoons water

Sift the flour and salt into a bowl. Rub in the butter until the mixture resembles breadcrumbs.

Add the egg and water and mix together to form a dough. Knead lightly on a floured board, then wrap and chill for 30 minutes or until required.

Roll out the pastry to fit a 20 or 23 cm fluted pie plate or tin. Press the pastry well into the fluted edge. Trim the pastry level with the top of the plate, being careful not to stretch the pastry as you trim the edges.

Filling ~

5 rashers of bacon

4 eggs

½ a cup of milk

¾ cup of cream

Pinch of salt and nutmeg

½ a cup grated cheese.

Chop the bacon into small pieces and fry in a small frypan. Drain away the fat and sprinkle bacon into the bottom of the pastry case, along with the grated cheese.

In a bowl, whip together the eggs, milk, cream, salt and nutmeg. Carefully pour over the top of the bacon and cheese.

Bake in the preheated oven for approximately 40 minutes, or until the egg mixture is firm and golden.